Instrukcja montażu i podłączenia
Roof bar package 2
- Marka maszyny
- Hitachi
- Numer artykułu
- 102590-23
- Dokument
- PD00290
- Rewizja
- A
Rysunki techniczne
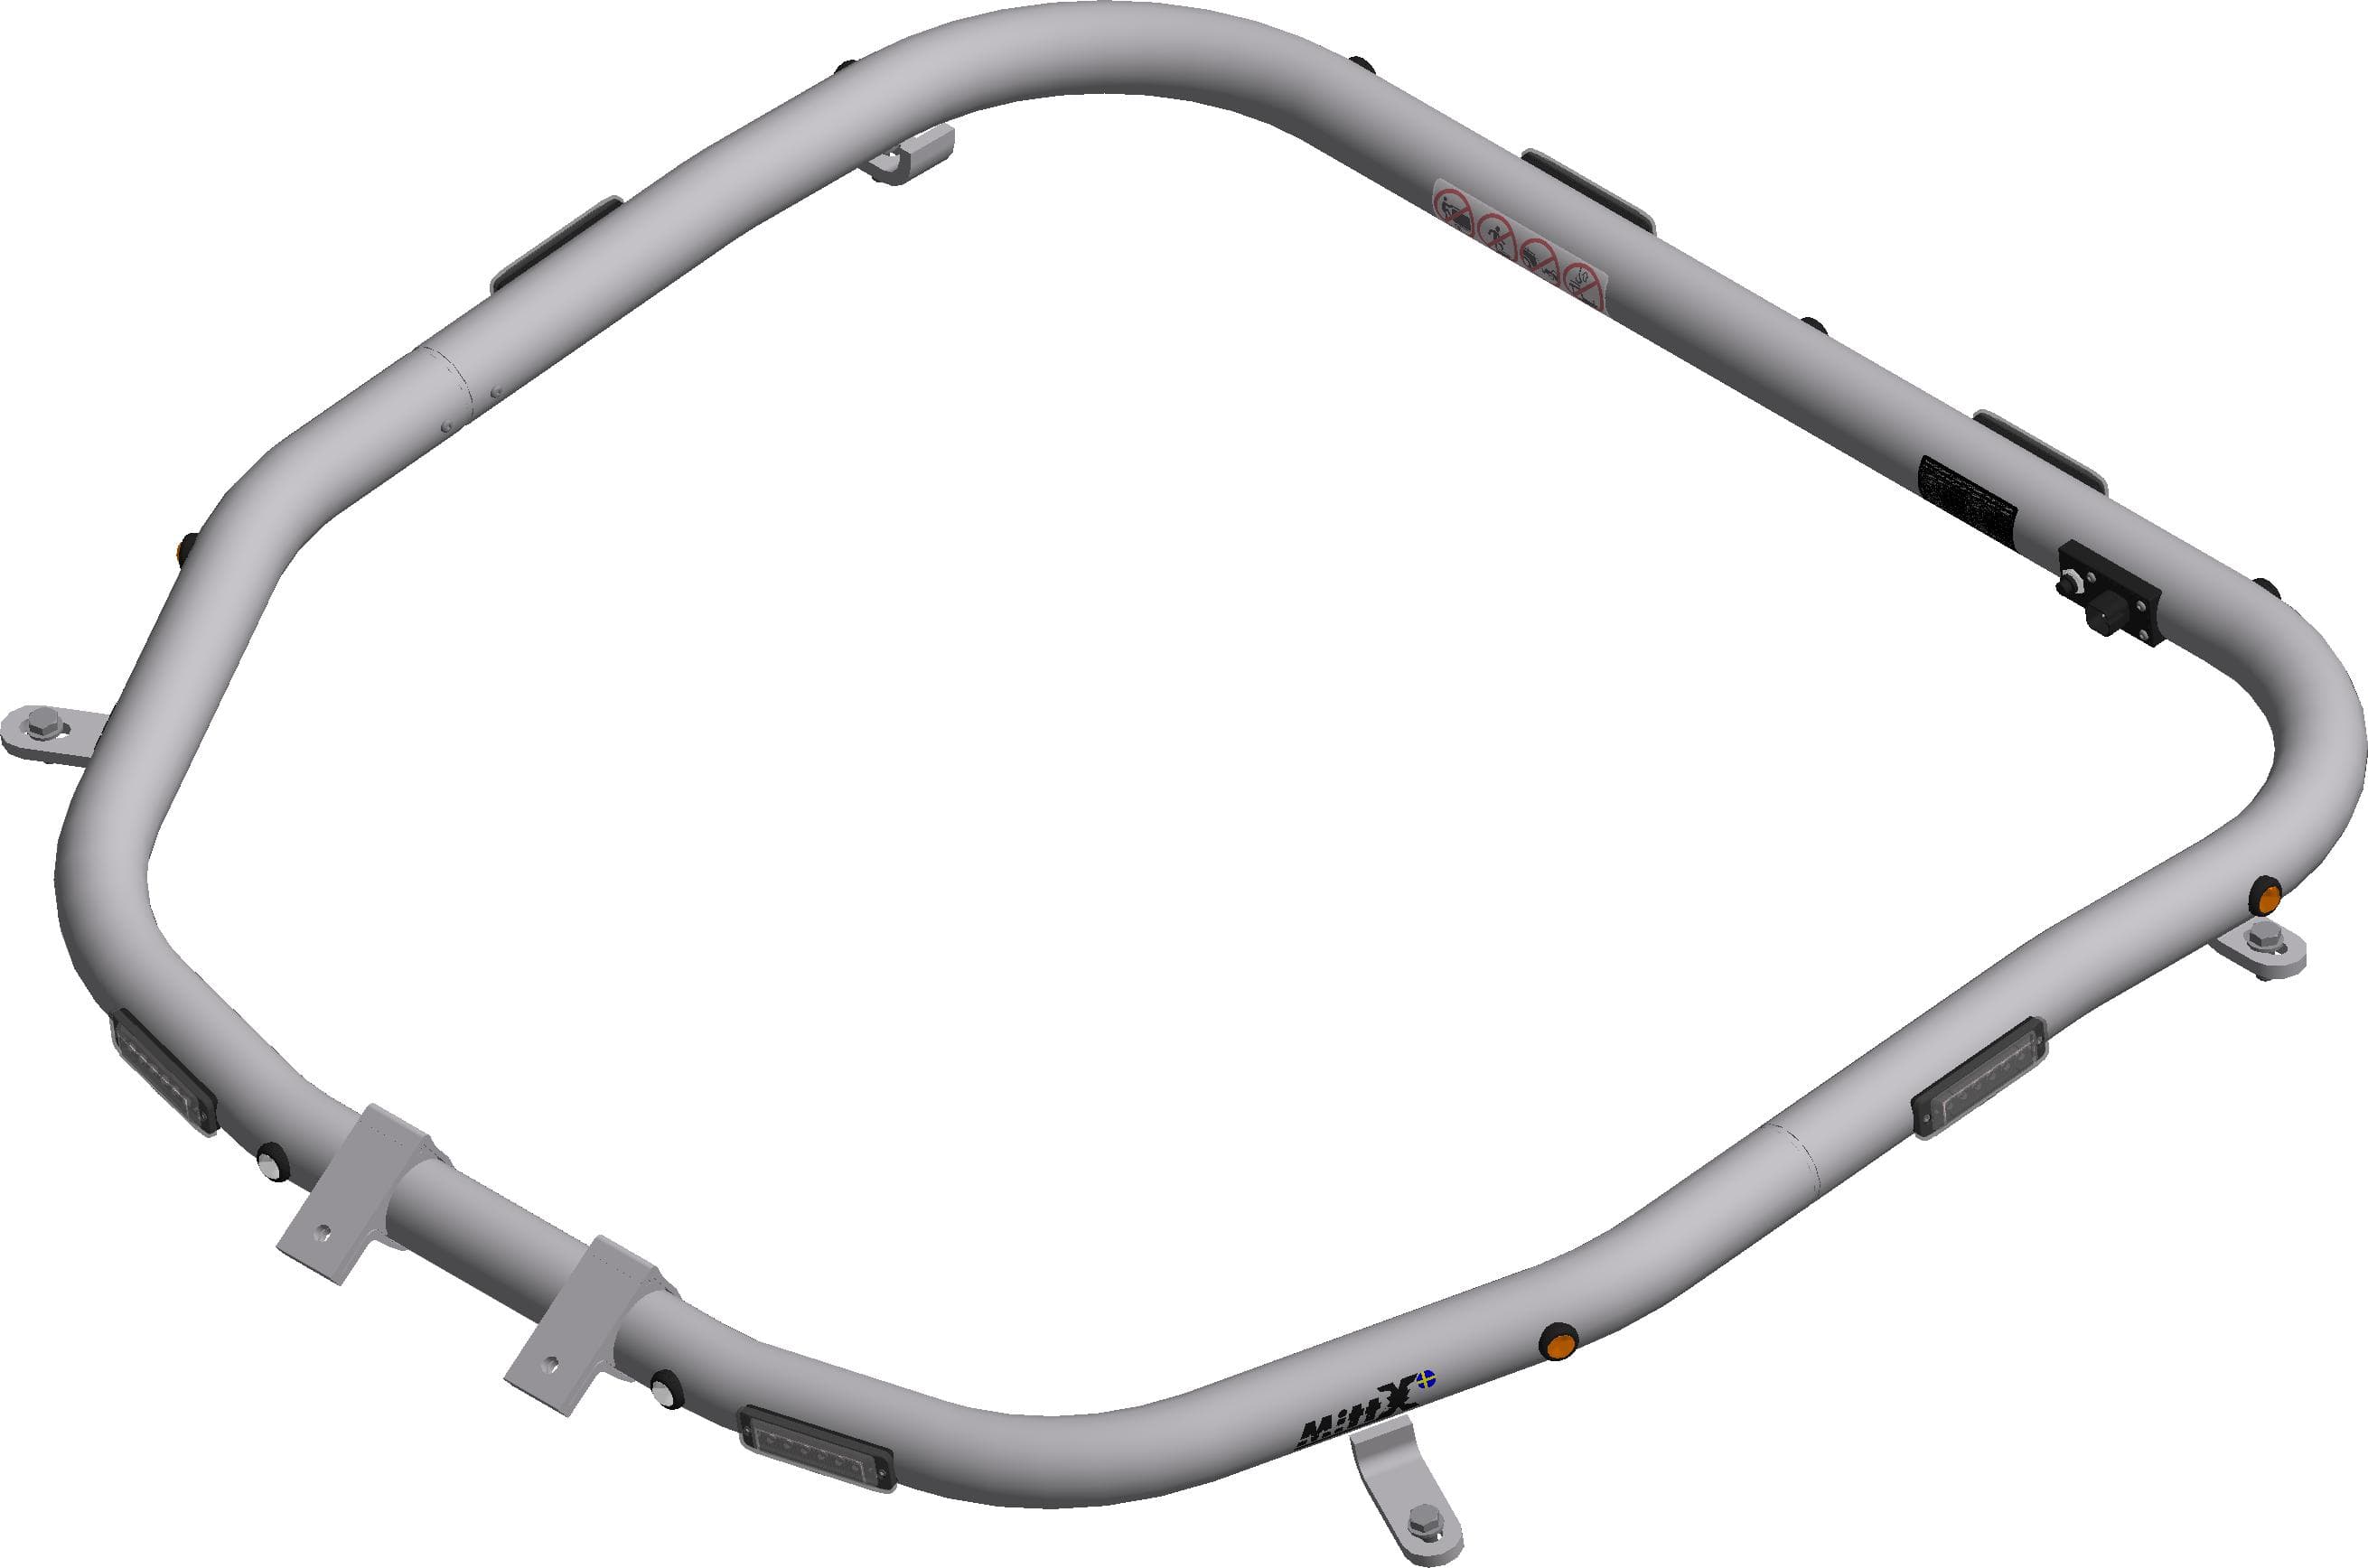
Montaż, podłączenie i użytkowanie
Montaż
Use packaging plastic when fitting clamp brackets to avoid damaging or scratching the bar's surface finish.
Okablowanie
- Okablowanie 1
- Connector DT06-06SA 1. Flashlight(+) 2. Flashlight(-) 3. Flashlight Dimmer.(+) 4. Position light (+) 5. Position light (-) 6. Free
- Okablowanie 2
- Connect to a switch for function
Bezpieczeństwo i ograniczenia użytkowania
- The factory products are intended solely as fixtures for lighting and warning systems.
- Under no circumstances may the product be used for towing or as a lifting device.
- The product is also not intended for use as a guard rail, handle or step.
Specyfikacja producenta
In accordance with VVFS 2003:27 (Swedish regulation), the product's position lighting must not be used while the vehicle is travelling in traffic on public roads. If the product is fitted to a class 1 motorised implement, it must be installed with a switch for the position lights.
Konserwacja i czyszczenie
Maintenance & cleaning: never spray concentrated jets directly at, or use high pressure (pressure washer) on, lamps and other electronic equipment. All our lamps are IP-rated to withstand water and moisture, but for a longer service life, care is recommended when cleaning. On products with a natural anodised surface, do not use alkaline or acidic cleaning agents; these damage the anodised surface. Only use cleaning agents with a pH between 6 and 8. Paint cleaner may be used on heavily soiled surfaces. Before use, check that the lighting works and that there is no damage to the bar, wiring or mountings. Damaged or broken parts must be repaired or replaced. Damage to the rain guard (Plexiglas) can pose a certain risk of injury: sharp edges may occur, so exercise caution. When disposing of the product, aluminium must be sorted as recyclable and all electrical components as electronic waste. Any rain guard (Plexiglas) must be sorted as hard plastic.
Wzory błysków
a. Change the flash pattern by holding the button pressed for about 1 second. b. To reset the flashlights, hold the button pressed for about 5 seconds. The flashlights return to factory mode #0 (Random). NOTE: R65 is the EU-approved pattern and its use is recommended.
9 - Single (all) (R65 - EU Certified)
Pokaż wszystkie programowalne wzory błysków
- 0 - Random (default)
- 1 - Single (split)
- 2 - Double (split)
- 3 - Quad (split)
- 4 - Quint (split)
- 5 - Mega (split)
- 6 - Ultra (split)
- 7 - Single-Quad (split)
- 8 - Single H/L (split)
- 9 - Single (all) (R65 - EU Certified)
- 10 - Single (all) (SAE)
- 11 - Double (all)
- 12 - Quad (all)
- 13 - Quint (all)
- 14 - Mega (all)
- 15 - Ultra (all)
- 16 - Single-Quad (all)
- 17 - Single H/L (all)
- 18 - Steady 2 (California)
- 19 - Steady 4 (all)
Źródło: fabryczna karta produktu PD00290 (rew. A), przetłumaczona ze szwedzkiego. Oryginał zarchiwizowano. Przetłumaczono z szwedzkiej dokumentacji dostawcy.